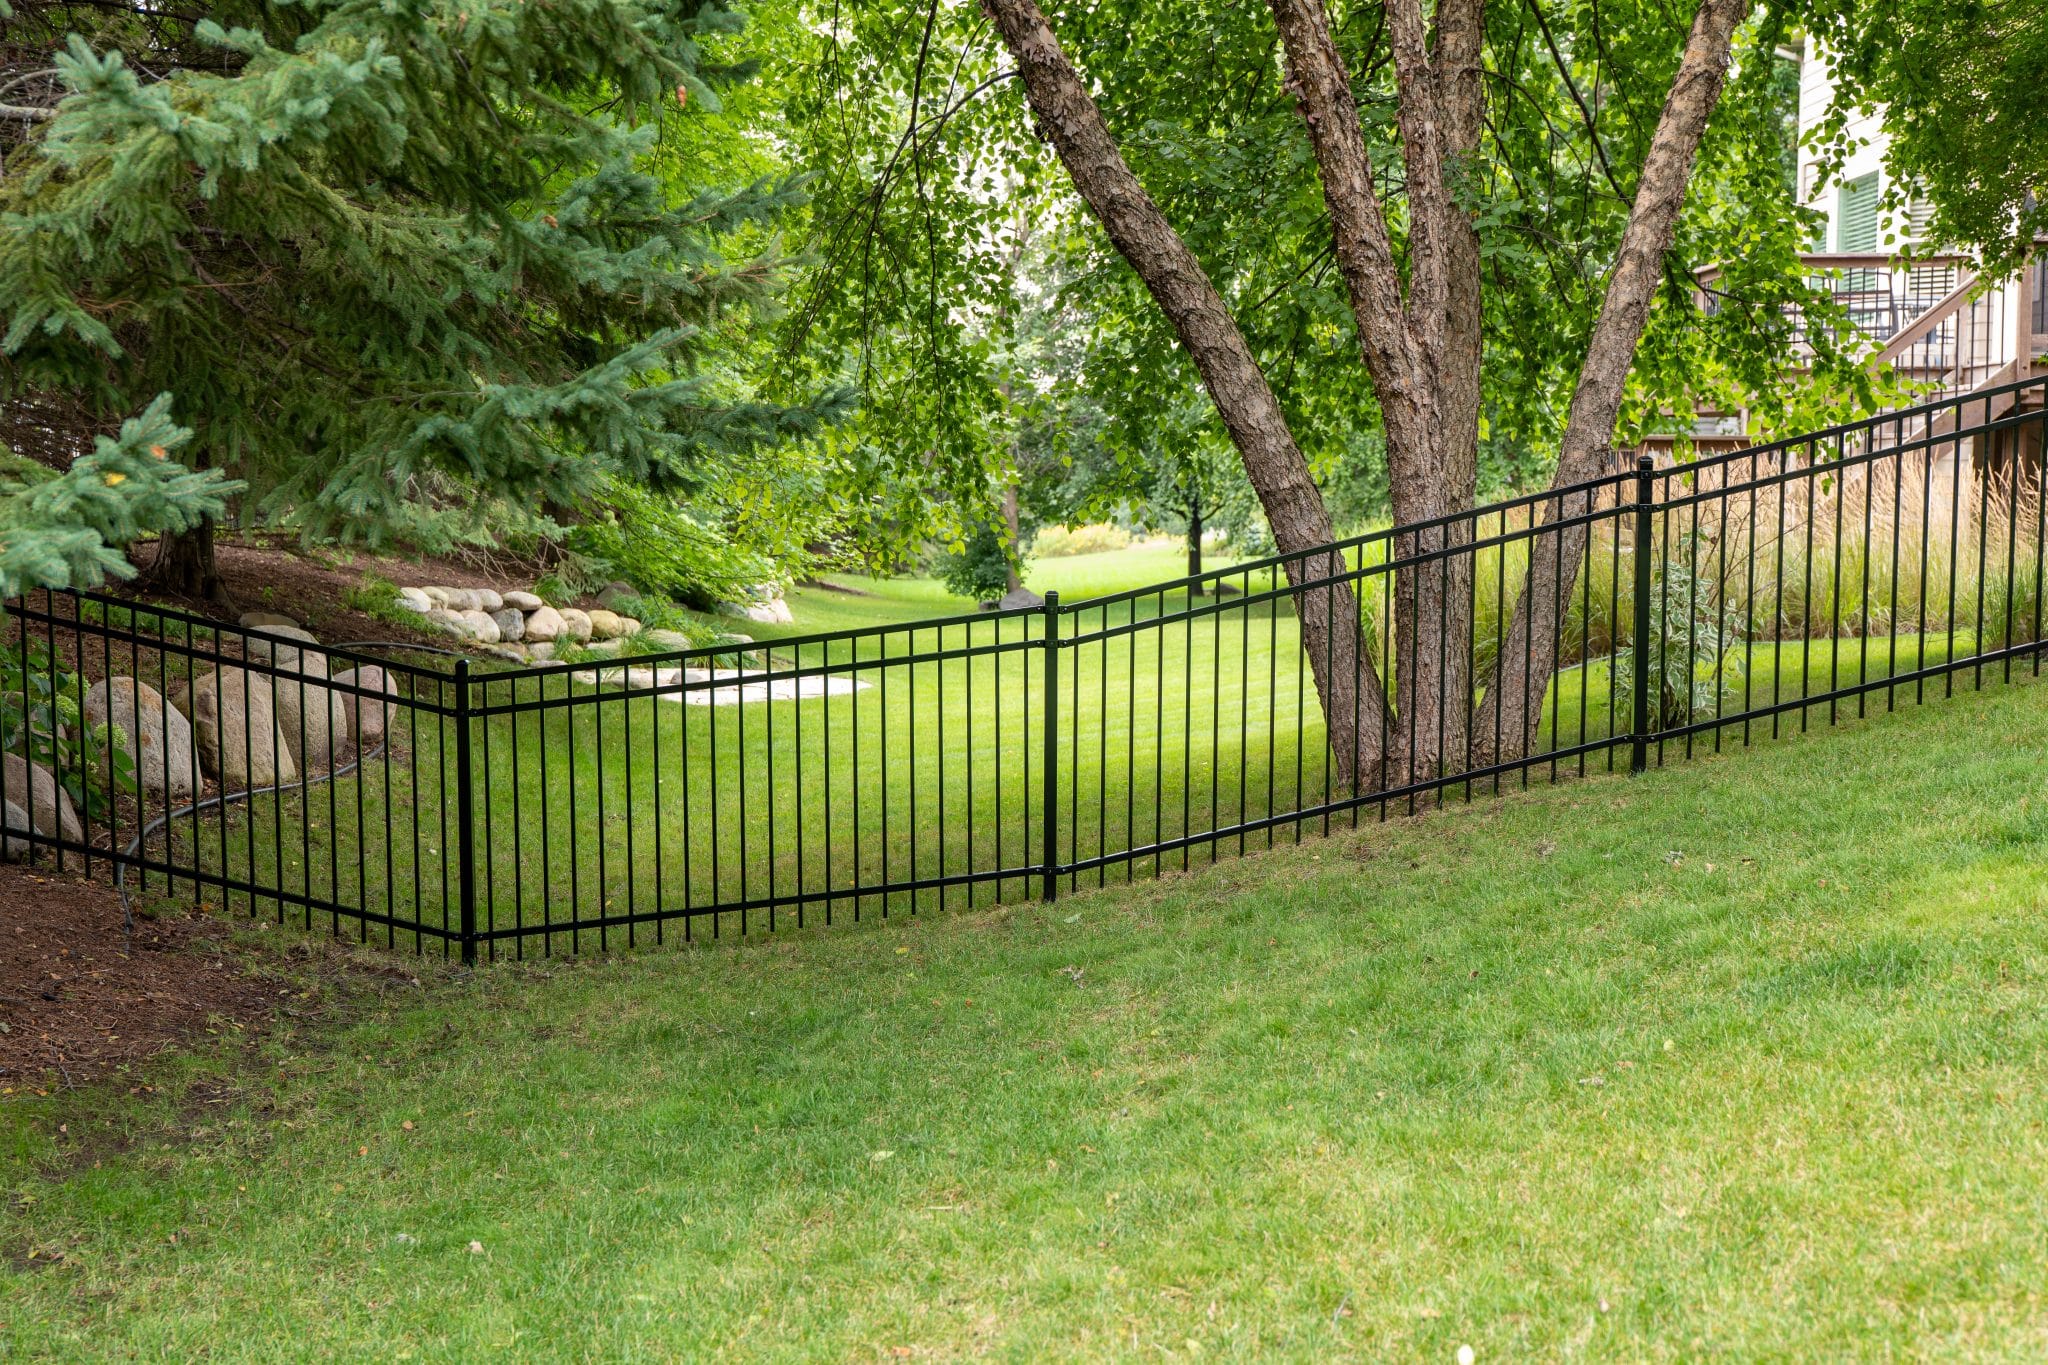
Aluminum Fence for Sloped Yards: Installation Tips


When it comes to fencing a yard with uneven terrain, many homeowners face a common dilemma—how to choose a fence that not only complements the sloped landscape but also provides durability and ease of maintenance. Among the various fencing options available, the aluminum fence stands out as one of the most practical and visually appealing choices for sloped yards. Its lightweight structure, resistance to rust, and versatility in design make it ideal for installation on inclines. However, proper installation is crucial to ensure the fence remains secure, aligned, and attractive.
In this article, we’ll explore expert installation tips for aluminum fences in sloped yards, from preparation to post-installation care.
Why Choose an Aluminum Fence for a Sloped Yard?
Before diving into the installation process, it’s important to understand why aluminum fencing is particularly well-suited for sloped yards. First, aluminum fences are designed with rackable panels. This means the fence can be adjusted to follow the natural contour of a hill without leaving gaps underneath or needing unsightly stair-step designs. Additionally, aluminum is a rust-resistant material, which makes it ideal for outdoor use in all types of weather and terrain conditions.
Some of the top advantages of aluminum fences include:
- Corrosion resistance
- Lightweight but durable structure
- Low maintenance requirements
- Customizable designs for both flat and sloped areas
- Increased property value and curb appeal
Step 1: Survey and Measure Your Sloped Yard
The first step in installing an aluminum fence on a sloped yard is to survey the terrain carefully. Walk the perimeter where the fence will be installed and use a string line, stakes, and a level to determine how steep the slope is. Take note of elevation changes and determine whether the yard has a uniform slope or varying degrees of incline.
This evaluation will help you decide whether to use the racked panel method (where the fence panels follow the contour of the slope) or the stepped method (where panels are installed level, creating a stair-step look). For aesthetic and security purposes, most homeowners prefer racked aluminum fences because they follow the slope without leaving gaps.
Step 2: Choose Rackable Aluminum Fence Panels
Once the slope has been assessed, you’ll need to choose the right type of aluminum fence panels. Rackable panels are designed to pivot within the posts, allowing the pickets to adjust vertically while keeping the rails aligned horizontally. Most standard rackable panels can adjust up to 12 inches per panel. If your yard has steeper inclines, opt for highly rackable panels which can adjust up to 24 inches or more.
Ask your supplier about the degree of flexibility each panel offers. The more the panel can “rack,” the smoother your fence will look when installed along uneven ground.
Step 3: Set Fence Posts Correctly
Proper post installation is critical for the stability of any fence, and it’s especially important on sloped ground. Begin by marking the position of each post using spray paint or stakes. Dig post holes that are at least 24–30 inches deep, or deeper depending on your local frost line and the height of the fence.
Use a level to ensure the posts are plumb (vertically straight), even if the ground is angled. Fill the holes with concrete to secure the posts and allow proper curing time before attaching panels. Keep in mind that on steep slopes, you may need to dig posts deeper to accommodate the angle and ensure long-term stability.
Step 4: Attach Panels to Match the Slope
After the posts are firmly set, attach the rackable aluminum panels to the posts. If you’re using the racked method, tilt the panel to match the slope and secure it in place using brackets or screws recommended by the manufacturer.
Ensure that the pickets remain vertical even as the panel adjusts to the angle of the ground. Double-check the spacing between the pickets and the ground to avoid creating gaps that pets or small children could crawl through.
For the stepped method, install each panel level with the ground, moving one step down (or up) per section. This approach creates a more pronounced visual stair-step effect and may not be ideal for security or privacy, but it can work well for ornamental fencing in formal garden settings.
Step 5: Final Inspection and Maintenance
Once the aluminum fence is fully installed, do a final walk-around to inspect for any uneven panels, loose screws, or gaps. Apply touch-up paint if there were any scratches during installation to prevent oxidation.
One of the best parts about an aluminum fence is that it requires minimal maintenance. Occasionally rinse it down with a garden hose and check for debris buildup. Unlike wood or iron, aluminum fences won’t warp, rot, or rust, which makes them a long-lasting solution for sloped terrain.
Conclusion
Installing an aluminum fence in a sloped yard might seem challenging at first, but with the right preparation and materials, it can be a smooth and rewarding process. Rackable panels offer flexibility to follow the natural grade of your yard, while aluminum’s weather-resistant qualities ensure that your fence remains beautiful and strong for years to come. Whether you’re fencing for privacy, security, or decoration, an aluminum fence brings both function and style—even to the trickiest terrain.
If you’re planning to install a fence on a hill, consider aluminum as your top choice—it combines elegance, durability, and the adaptability that sloped landscapes demand.

